Pin It
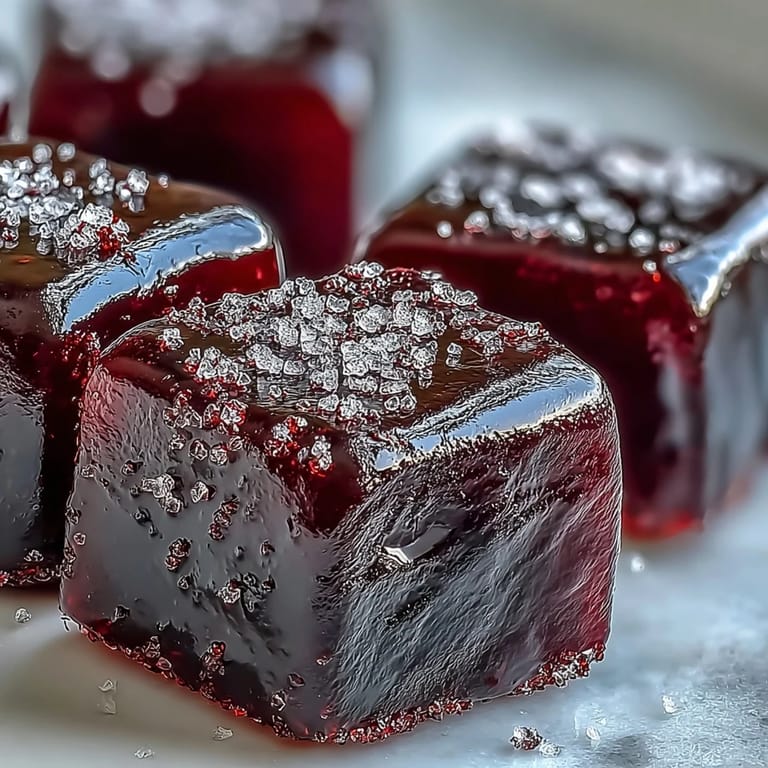
 My kitchen smelled like a farmer's market when I first attempted black currant gummies on a rainy Sunday afternoon. A friend had brought back a punnet of these jewel-like berries from a local farm stand, and I couldn't resist the challenge of turning them into something chewy and glossy. What started as an experiment with a handful of ingredients became something I now make whenever I need a small moment of joy in a jar.
I brought a batch to my sister's house once, and her kids wouldn't stop asking if they were homemade or bought. Watching their faces light up when I said I'd made them in my own kitchen was worth every minute of stirring and waiting. Now they request them before birthday parties, and I've become the gummy person in the family.
Ingredients
- Fresh or frozen black currants (1 cup, 150 g): These tart, aromatic berries are the star—frozen ones work beautifully and are often easier to find than fresh, plus they break down faster when heated.
- Water (1/3 cup, 80 ml, plus 1/3 cup for blooming): The first portion draws out the berry flavors; the second hydrates your gelatin so it dissolves smoothly without lumps.
- Lemon juice (2 tablespoons): This brightens the deep berry flavor and prevents the gummies from tasting flat or one-dimensional.
- Granulated sugar (3/4 cup, 150 g): It dissolves into the puree and gives the gummies their pleasant chew and subtle sweetness that lets the fruit shine.
- Unflavored powdered gelatin (3 tablespoons, 30 g): This is your gelling agent—the magic ingredient that transforms liquid into those satisfying, bouncy gummies you'll want to pop into your mouth.
- Granulated sugar for coating (1/4 cup, 30 g, optional): A light sugar coat adds texture and a little extra sweetness on the outside, though your gummies are perfect without it.
Tired of Takeout? 🥡
Get 10 meals you can make faster than delivery arrives. Seriously.
One email. No spam. Unsubscribe anytime.
Instructions
- Warm the berries gently:
- Combine black currants with 1/3 cup water in a saucepan and simmer over medium heat for 5–7 minutes until they soften and burst. You'll know you're at the right moment when the berries release their juice and the kitchen fills with that deep, tart aroma.
- Strain for silky puree:
- Pour the hot mixture through a fine mesh strainer into a clean bowl, pressing gently with the back of a spoon to extract every bit of juice and pulp while leaving skins and seeds behind. You should end up with roughly 2/3 cup of vibrant, seedless puree.
- Build your base:
- Stir lemon juice and sugar into the warm puree until the sugar dissolves completely. Taste it now—this is your chance to adjust the flavor balance before the gelatin goes in.
- Bloom the gelatin:
- Sprinkle powdered gelatin over cold water in a small bowl and let it sit undisturbed for exactly 5 minutes. It will absorb the water and become spongy—this step is what prevents grainy, clumpy gummies later.
- Melt gelatin into the mixture:
- Return your puree to low heat and add the bloomed gelatin, stirring constantly until it dissolves completely. Watch carefully—you want to see it disappear into the liquid without ever letting it boil, which would damage the gelatin's setting power.
- Pour and settle:
- Transfer the mixture into silicone molds or a parchment-lined 8x8-inch pan, then tap the pan gently on the counter a few times to release trapped air bubbles that could create holes in your finished gummies.
- Chill until set:
- Refrigerate for at least 2 hours—this is when patience pays off. If you're in a hurry, the freezer can speed things up, but the cold time is what gives gummies their perfect texture.
- Remove and finish:
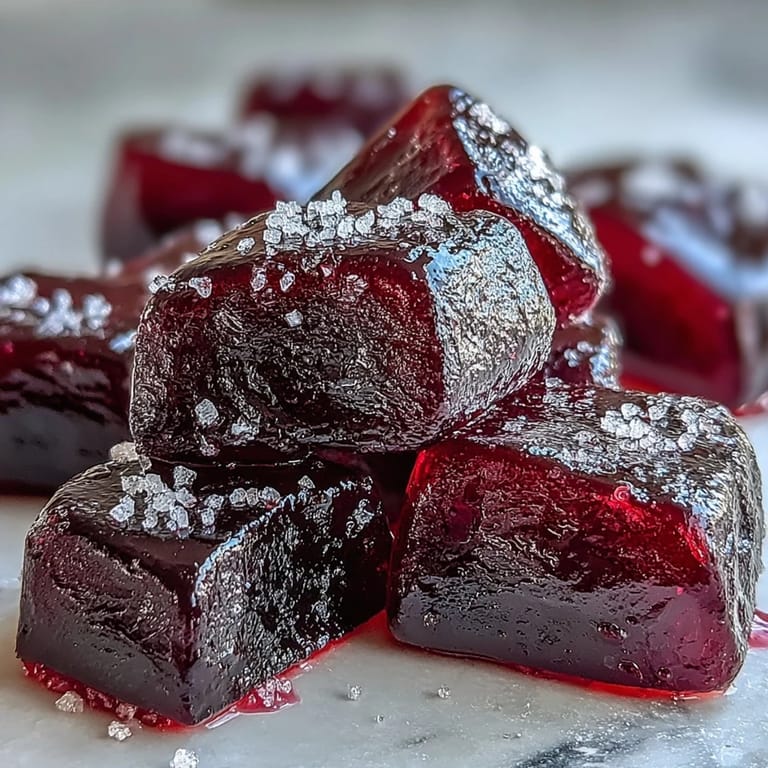
- Pop gummies out of molds or cut into squares with a sharp knife. If you'd like a candied look, toss them in granulated sugar while they're still slightly cool.
 Pin It
 There's something almost meditative about waiting for gummies to set in the fridge, knowing that in a couple of hours you'll have dozens of little treasures. The first time I opened that container and found perfectly set gems gleaming back at me, I understood why people get excited about homemade candy.
Why Frozen Berries Are Your Secret Weapon
When fresh black currants are out of season, frozen ones are honestly just as good—sometimes even better. They're picked at peak ripeness and frozen immediately, so their flavor is locked in. Plus, they break down faster when heated because the freezing process softens their cell walls, which means you get a deeper, more intense puree with less work.
Flavor Tweaks You Can Play With
Once you've made a batch and know how you like them, the fun begins. You could swap in raspberries or blueberries for a different profile, add a tiny pinch of cardamom or vanilla, or even infuse the water with a strip of lemon zest before simmering the berries. I once tried a whisper of rose water and couldn't decide if it was genius or too fancy, but that's the joy of making your own.
Storage and Longevity
These gummies are best kept in an airtight container in the refrigerator, where they'll stay perfect for about two weeks. If you leave them uncovered in the fridge overnight, they'll firm up even more—some people prefer them that way. If you need them to last longer, you can freeze them, though they'll be chewier when thawed.
- Store in an airtight container to keep them from drying out or absorbing fridge odors.
- They'll keep for roughly two weeks refrigerated, or several months if frozen.
- Avoid stacking them in warm conditions or they'll start to stick together.
 Pin It
 Homemade gummies are proof that some of the best things to make are also the simplest. Whether you're making them for yourself or someone special, each one carries a little bit of care.
Recipe FAQs
- → Can I use other fruits instead of black currants?
Yes, you can substitute raspberries, blueberries, strawberries, or any other berry you prefer. Adjust the sugar slightly based on the natural sweetness of your chosen fruit.
- → How long do these gummies stay fresh?
Store in an airtight container in the refrigerator for up to 2 weeks. They may become slightly firmer over time but remain perfectly edible and delicious.
- → Can I make these vegan?
Substitute the gelatin with 1.5 tablespoons agar powder. Note that agar sets more firmly than gelatin and may require slightly different preparation - follow the package instructions for best results.
- → Why do I need to strain the berries?
Straining removes skins and seeds, creating a smooth puree for your gummies. This ensures a uniform texture without any bits or graininess throughout the candy.
- → Can I use fresh gelatin sheets instead of powder?
Yes, substitute with approximately 3-4 gelatin sheets bloomed in cold water. Follow your gelatin sheet package instructions for equivalent measurements and blooming time.
- → Do I need candy molds?
Silicone molds work great for uniform shapes, but you can also pour the mixture into a parchment-lined 8x8 inch pan and cut into squares once set. Both methods yield delicious results.