 Pin It
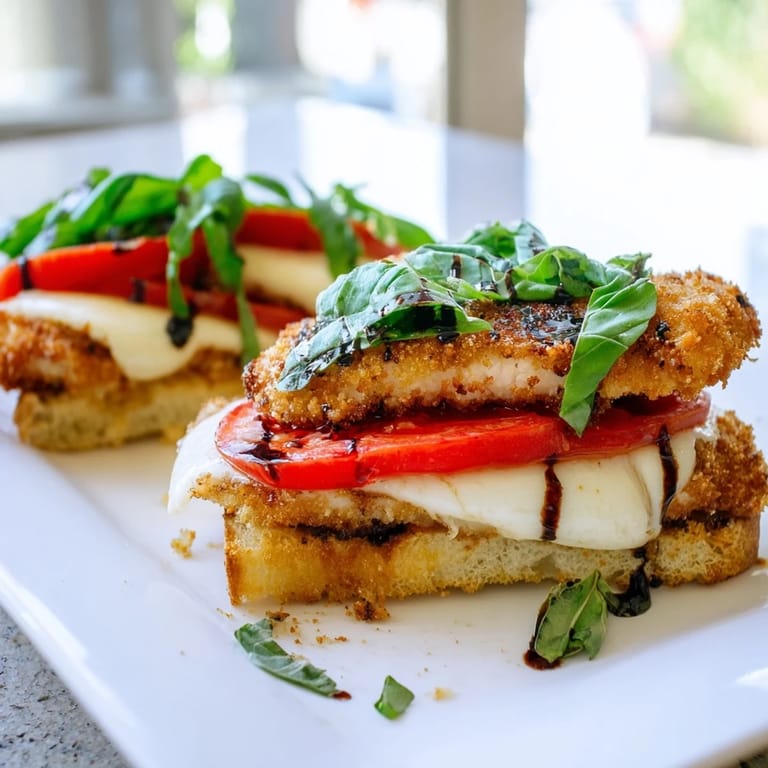
 The first time I made these sandwiches, my kitchen smelled like an Italian trattoria. I had found fresh mozzarella on sale at the market and couldn't resist picking up a beautiful bundle of basil. My roommate walked in midway through frying the chicken and literally stopped in her tracks, asking what magic was happening in our tiny apartment.
Last summer, I made these for a backyard picnic and my friend's husband took one bite and declared it the best sandwich he'd ever eaten. We ended up sitting around the table longer than planned, just enjoying the food and conversation. Sometimes simple ingredients prepared with care create the most memorable meals.
Ingredients
- Chicken breasts: Slice them horizontally yourself for cutlets that cook evenly and stay juicy
- Panko breadcrumbs: These Japanese breadcrumbs create a lighter, crispier coating than traditional breadcrumbs
- Grated Parmesan: Mixed into the breading, it adds a savory depth that makes the coating irresistible
- Fresh mozzarella: Get the good stuff from the specialty section, it melts beautifully and has superior flavor
- Ripe tomatoes: Room temperature tomatoes release more juices and flavor onto the sandwich
- Fresh basil: Look for bright green leaves without any dark spots for the freshest taste
- Balsamic glaze: A drizzle adds acidity and sweetness that balances the fried chicken perfectly
Tired of Takeout? 🥡
Get 10 meals you can make faster than delivery arrives. Seriously.
One email. No spam. Unsubscribe anytime.
Instructions
- Prep your station:
- Preheat oven to 200°C (400°F) and set up three shallow bowls for your breading station
- Create the coating:
- Mix panko with Parmesan, Italian herbs, garlic powder, salt, and pepper in one bowl
- Butterfly the chicken:
- Slice each breast horizontally to make four thin cutlets that will cook quickly and evenly
- Dredge each cutlet:
- Coat in flour, dip in beaten eggs, then press firmly into the panko mixture
- Fry to golden:
- Heat olive oil in a large skillet and cook chicken 34 minutes per side until golden brown
- Melt the cheese:
- Transfer chicken to a baking sheet, top with mozzarella slices, and bake 57 minutes
- Toast the bread:
- Ciabatta rolls go into the oven or toaster until crisp and golden
- Build the layers:
- Layer fresh basil and tomato slices on the bottom roll, season with salt and pepper
- Assemble and serve:
- Place the cheesy chicken on top, drizzle with olive oil and balsamic glaze, add the top bun
 Pin It
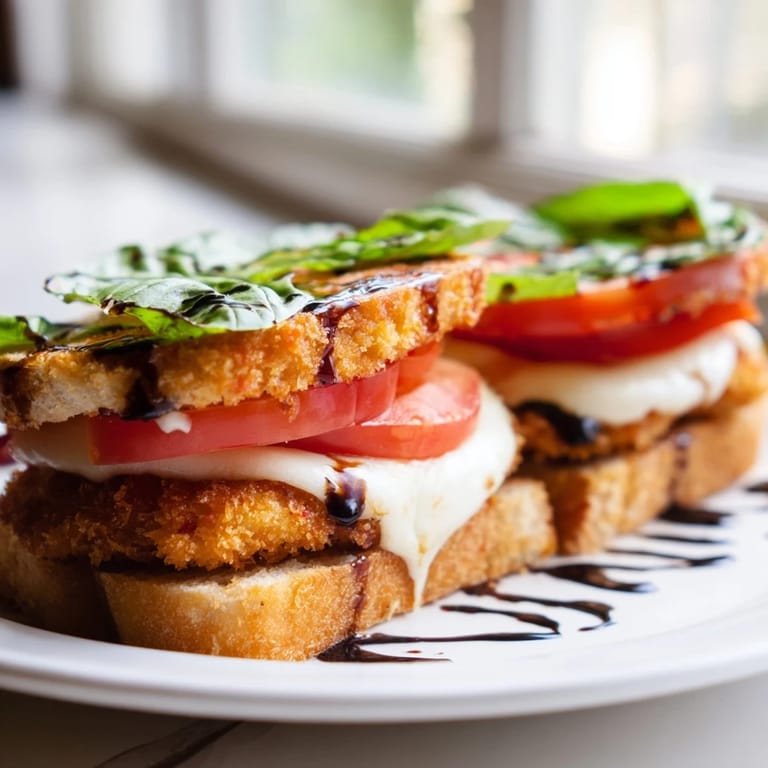
 My daughter now requests these for her birthday dinner every year. We make them together, and she's become an expert at getting the breading just right. Food tastes better when you've had a hand in making it.
Getting That Perfect Crunch
The key to crispy chicken that stays crunchy is pressing the panko mixture firmly onto each cutlet. I learned this after years of breading falling off during frying. Give each piece a gentle press with your fingers after coating to ensure the breadcrumbs stick.
Balancing the Flavors
Salt your tomato slices before assembling the sandwich. This simple step draws out excess moisture and concentrates the tomato flavor. The tomatoes become more flavorful without making your bread soggy.
MakeAhead Magic
You can bread the chicken cutlets up to four hours ahead and refrigerate them on a parchmentlined baking sheet. This actually helps the coating set better. When you are ready to cook, they will fry up even crunchier than freshly breaded ones.
- Fry the chicken completely and reheat in a 350°F oven for 10 minutes
- Toast the ciabatta just before serving to maintain texture
- Assemble everything right before eating for the best experience
 Pin It
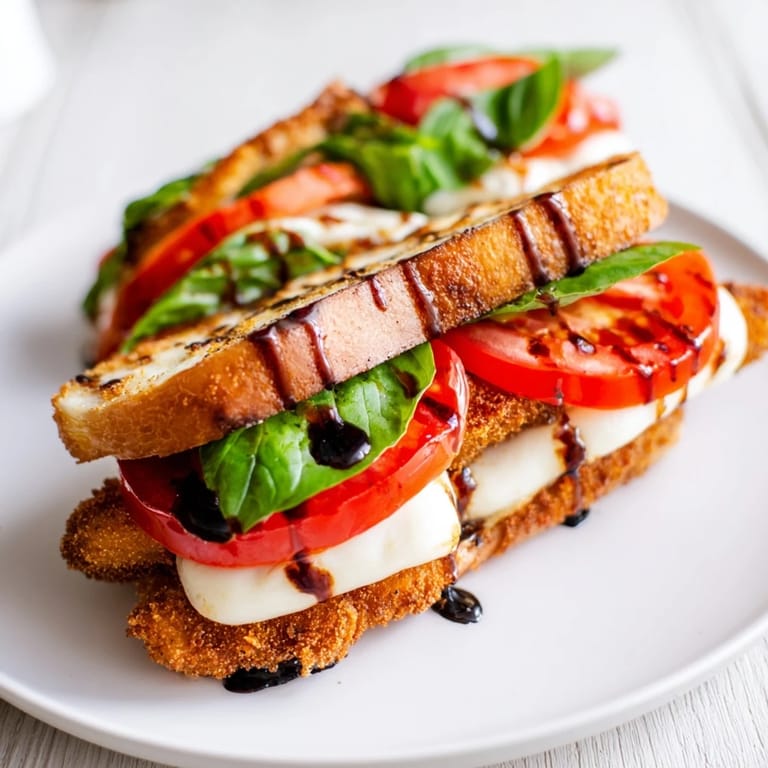
 These sandwiches have become our goto Friday night dinner, simple enough for a weeknight but special enough to feel like a treat. Hope they become a favorite in your kitchen too.
Recipe FAQs
- → How do I keep the chicken cutlets crispy after adding the mozzarella?
The key is using high heat when frying the chicken initially to create a golden crust. After topping with mozzarella, bake at 200°C for just 5-7 minutes until the cheese melts. This brief baking time prevents the breading from becoming soggy while melting the cheese perfectly.
- → Can I prepare the chicken cutlets ahead of time?
Yes, you can bread the chicken cutlets up to 4 hours in advance and refrigerate them on a plate. Fry them fresh just before serving to maintain maximum crispiness. Alternatively, fry them earlier in the day and reheat in a 180°C oven for 5-10 minutes before adding cheese and final toasting.
- → What's the best way to slice chicken breasts horizontally?
Place the chicken breast on a cutting board and position your hand flat on top. Using a sharp knife, carefully slice horizontally through the middle of the breast, working parallel to the board. This technique, called butterflying, creates thin, even cutlets that cook quickly and uniformly. Take your time to avoid uneven thickness.
- → Can I use store-bought breaded chicken instead?
You can, though homemade breadcrumbs with Parmesan offer superior flavor and texture. If using pre-breaded chicken, skip steps 2-5 and simply follow the package heating instructions. Top with mozzarella afterward and proceed with the sandwich assembly for a quicker version.
- → What are good substitutes for ciabatta bread?
Focaccia, Italian hero rolls, or sturdy sourdough work wonderfully. Avoid softer breads like brioche that won't hold up to the toppings. For a panini-style version, press the assembled sandwich in a panini maker. The bread should be firm enough to support the crispy chicken and toppings without falling apart.
- → How should I store leftovers?
Store cooked chicken and components separately in airtight containers for up to 2 days. Keep the mozzarella, tomatoes, and basil refrigerated. To enjoy leftovers, reheat the chicken in a 180°C oven until warmed through, then assemble fresh sandwiches. The components taste best when freshly assembled rather than stored as complete sandwiches.