 Pin It
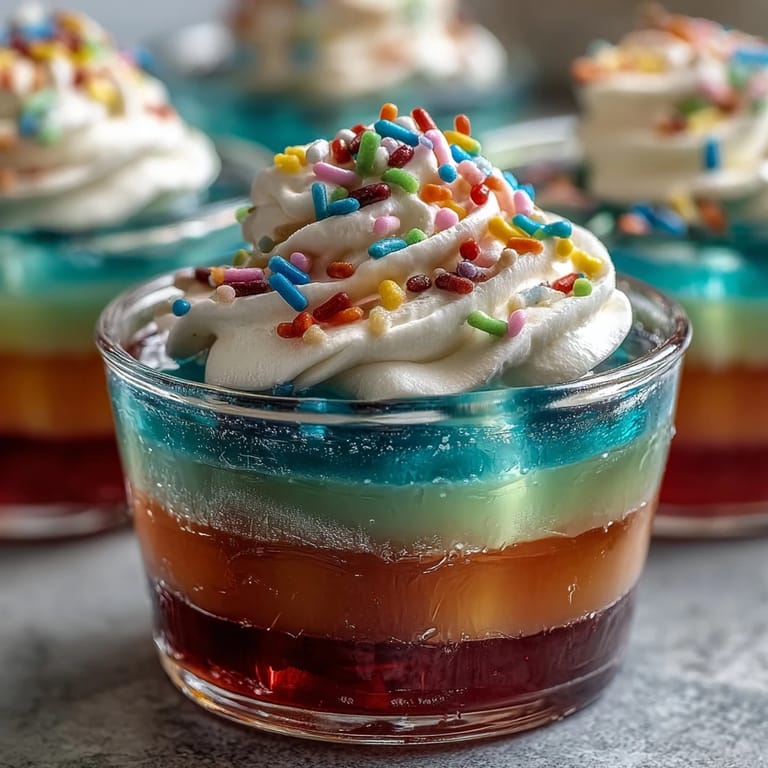
 The first time I made rainbow Jello cups, I caught a whiff of lemon and realized how much color can transform even a quiet afternoon. The kitchen was alive with anticipation, every little packet promising its own bright story. I found myself grinning at the spill of powder and the fizz of boiling water—nothing else seems to make kids wait so patiently. My hands were sticky by the end, but watching those layers glisten felt oddly satisfying. There was a playful energy, almost like painting, that made the whole process burst with fun.
Once, I made these cups for my niece's birthday—the kitchen was awash with laughter and requests for extra sprinkles. I underestimated how much fun there'd be in choosing the order of colors; her friends debated which flavor was best with whipped cream. We ended up with sprinkles everywhere, including hats and shoes. It was wild, chaotic, and exactly what a party should be. I still remember how their faces lit up just seeing those rainbow cups lined up on the counter.
Ingredients
- Strawberry (red) Jello: The sweet berry flavor brings vibrant color and balances tartness.
- Orange Jello: Orange offers a citrusy punch; mixing well ensures a clear layer.
- Lemon (yellow) Jello: Bright, tangy—lemon is sunshine in a cup and makes each layer pop.
- Lime (green) Jello: The green is lively and fresh; never skip letting it cool before pouring.
- Berry blue Jello: Blue bursts with a fruity sweetness and helps the rainbow effect really shine.
- Grape (purple) Jello: Purple is deep and gorgeous as the base; I learned to dissolve it fully for a smooth texture.
- Boiling water: Key for activating the Jello powder, so I always double-check that it's piping hot.
- Cold water: It chills each mix so the layers set quickly and evenly.
- Whipped cream: This creamy topping keeps the dessert light—real whipped cream or tub works, both are hits.
- Rainbow sprinkles: The decoration brings fun and crunch; add them just before serving so they stay bright.
Tired of Takeout? 🥡
Get 10 meals you can make faster than delivery arrives. Seriously.
One email. No spam. Unsubscribe anytime.
Instructions
- Start with Purple:
- Mix grape Jello with boiling water; the smell is bold and sweet. Stir until completely dissolved, then add cold water and pour a little into each cup.
- Chill and Set:
- Let those cups rest in the fridge—each layer becomes firm after about half an hour, so patience pays off.
- Layer in Blue:
- Follow the same method with berry blue Jello; pouring gently preserves stripes and avoids mixing colors.
- Add Green:
- Once blue is ready, prepare lime and pour over; be careful to avoid splashes for even layers.
- Make It Sunny:
- Lemon Jello shines next, adding a cheery yellow stripe. I always check firmness before starting the next layer.
- Wrap Up With Orange:
- Orange adds zest; a clean spoon for each batch prevents flavor crossover.
- Finish With Red:
- Strawberry Jello crowns the cups with vibrant red. When all layers are set, the cups look brilliant.
- Top and Decorate:
- Swirl whipped cream on each cup, then sprinkle rainbows just before serving for extra joy.
 Pin It
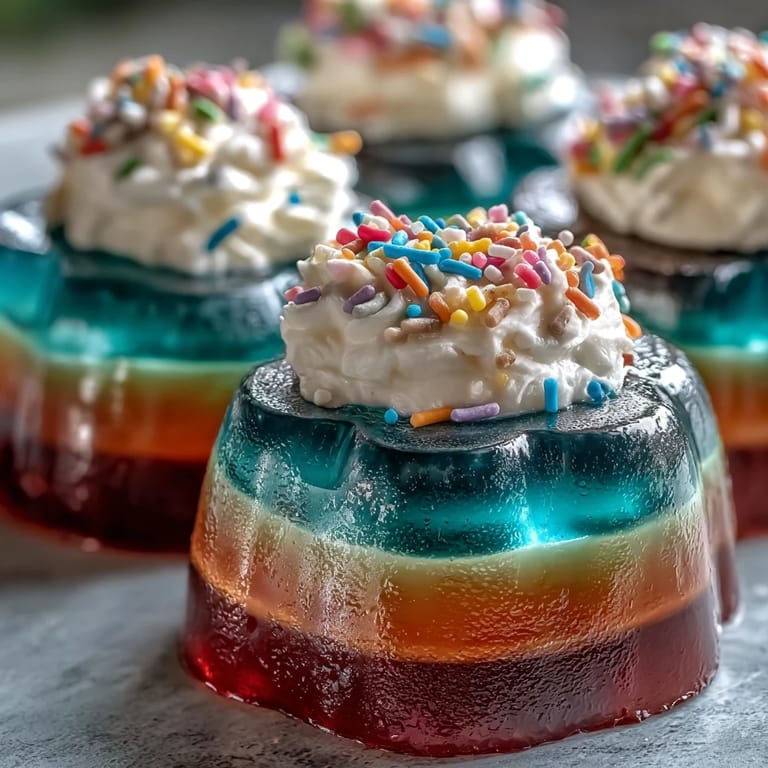
 That summer afternoon, these rainbow cups brought everyone together at the picnic table—suddenly, dessert was the main event. I watched parents sneak extra spoonfuls, sharing smiles and trading childhood memories of Jello treats. It was more than just a recipe; it became a centerpiece and a conversation starter.
Tips for Stress-Free Layering
Organizing colors ahead—lining up the boxes—made each step smoother and kept the process fun. I kept a tray ready to move cups in and out of the refrigerator with less worry about spills. Using a small ladle helped pour each layer neatly, and cleaning up between flavors became a habit worth keeping.
Choosing Toppings Kids Love
Letting everyone pick their own toppings turned these cups into a customizable treat. Some days, chocolate chips made an appearance or a few fresh berries. Even grownups found themselves debating whether coconut whip was superior to classic cream.
Make It Allergy-Friendly
Swapping dairy for coconut whipped cream is easy and adds a subtle tropical flavor. Sugar-free Jello mixes keep the cups light and adaptable for different diets. Always scan labels for hidden ingredients if you're serving someone with dietary restrictions.
- Set up toppings on the side so everyone can choose their favorite.
- Chill whipped cream in the fridge before piping for best results.
- Don’t rush layering—the rainbow effect depends on letting each color shine.
 Pin It
 Rainbow Jello cups are always a crowd-pleaser, and making them together is half the fun. I hope your kitchen fills with laughter and bright colors—enjoy every layer!
Recipe FAQs
- → What flavors are used in the layers?
Classic options include grape, berry blue, lime, lemon, orange, and strawberry. You may substitute other fruit flavors.
- → Can I make these ahead of time?
Yes, prepare and chill the cups up to 24 hours in advance. Add whipped cream and sprinkles just before serving for best texture.
- → How long does each layer need to set?
Each gelatin layer requires about 30–40 minutes to set in the refrigerator. Ensure layers are firm before adding the next.
- → Are there dairy-free topping alternatives?
Coconut whipped cream or non-dairy whipped topping can be used for a dairy-free finish on each cup.
- → How can I lighten the dessert?
Use sugar-free gelatin and low-calorie whipped topping for a lighter option, while maintaining the colorful appeal.
- → Is this suitable for vegetarians?
Yes, with traditional gelatin and cream toppings, it fits vegetarian diets. Always check ingredient sources for assurance.